


Installing ceiling lights is one of the simplest ways to refresh a room, improve visibility, and make your home feel modern and inviting. Whether you’re replacing an old fixture or planning a new lighting installation with LED ceiling lights, getting the process right is essential for safety, performance, and long-term reliability.
This guide walks you through what’s involved in installing ceiling lighting, what to know before handling wiring, and the key safety steps every homeowner should understand. You’ll also learn important considerations for LED ceiling lights, when to call a professional, and how to keep your lighting system well-maintained over time.

Planning and Preparation
Before doing any electrical work, turn off the power at the circuit breaker. This stops electricity from flowing through the wires and helps prevent shock or injury.
Next, choose the right type of ceiling light based on your room and needs. Many homeowners now prefer LED ceiling lights because they use less power, last longer, and produce less heat compared to traditional bulbs.
Check the spot on the ceiling where the light will go and make sure you can safely reach it using a stable ladder. Then gather the tools you will need, which may include:
- Screwdriver
- Voltage tester
- Wire connectors (like wire nuts)
- Wire strippers
- Ladder
- Drill (only if needed)
If you are planning to install LED ceiling lights, check that the driver or transformer is suitable and that your switch is compatible with LED lights, especially if you want a dimmable lighting option. Also make sure there is enough space in the ceiling area for ventilation.
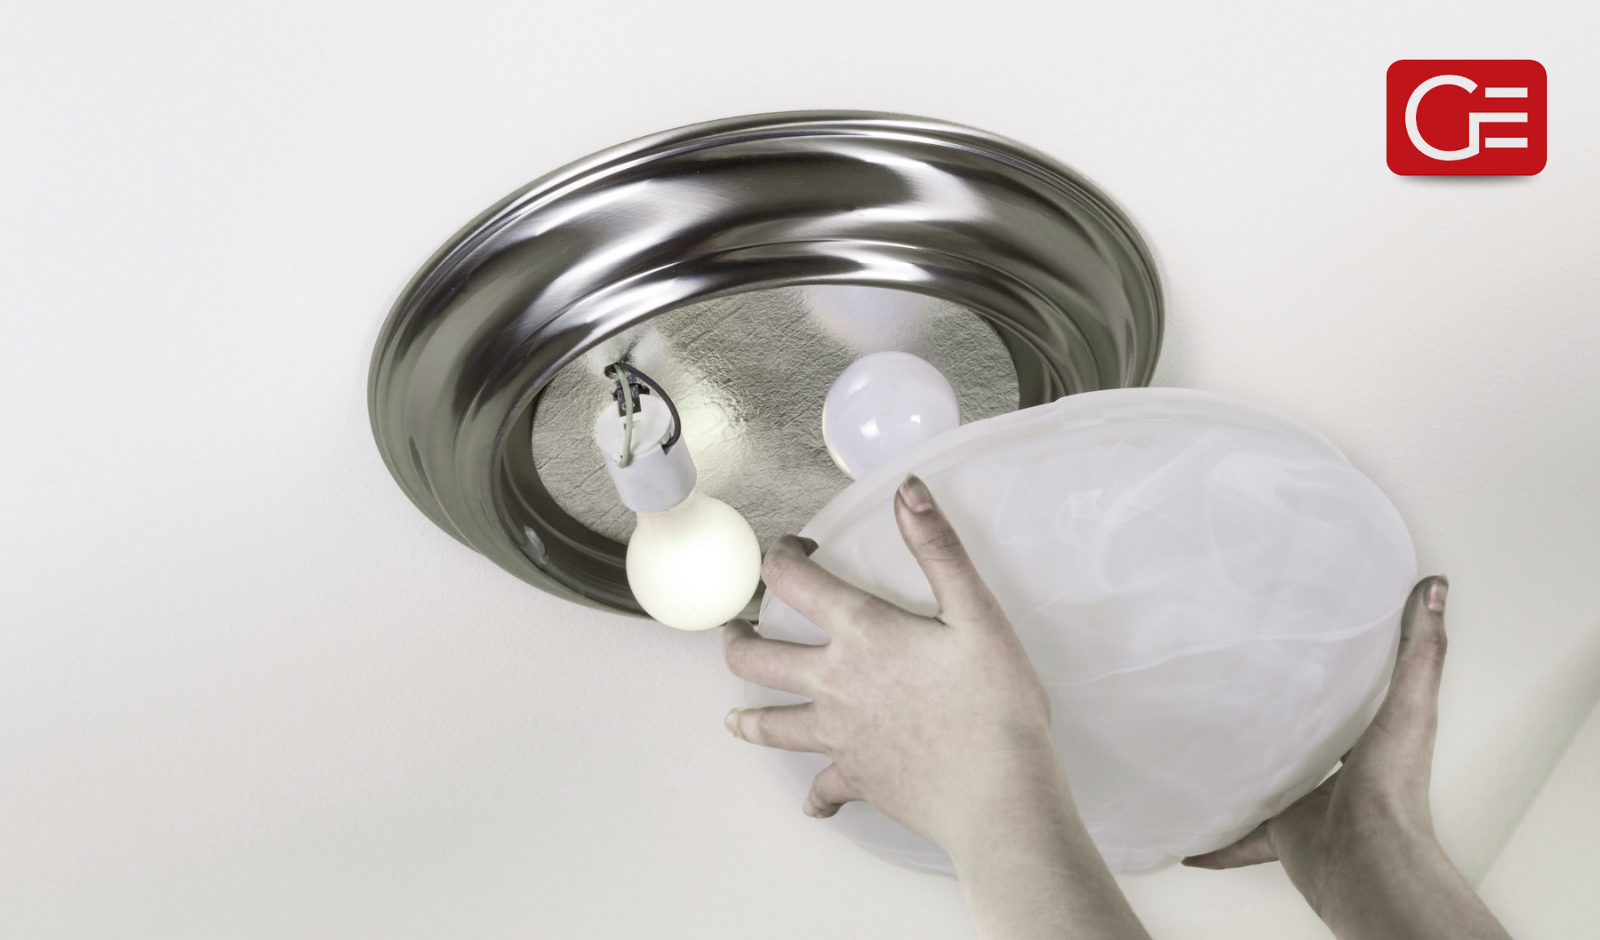
Removing the Existing Fixture
Start by carefully removing your old ceiling light. Take off the light cover, loosen the screws, and slowly lower the fixture so you can see the wires behind it.
Use a voltage tester to make sure there is no power in the wires. Only continue once you are certain it is safe.
Disconnect the three main wires:
- Live wire (usually brown or red)
- Neutral wire (usually blue or black)
- Earth/ground wire (green/yellow)
While the old fixture is removed, check the junction box or mounting bracket in the ceiling. It must be strong enough to support your new light, especially if the new fixture is heavier or includes LED drivers.
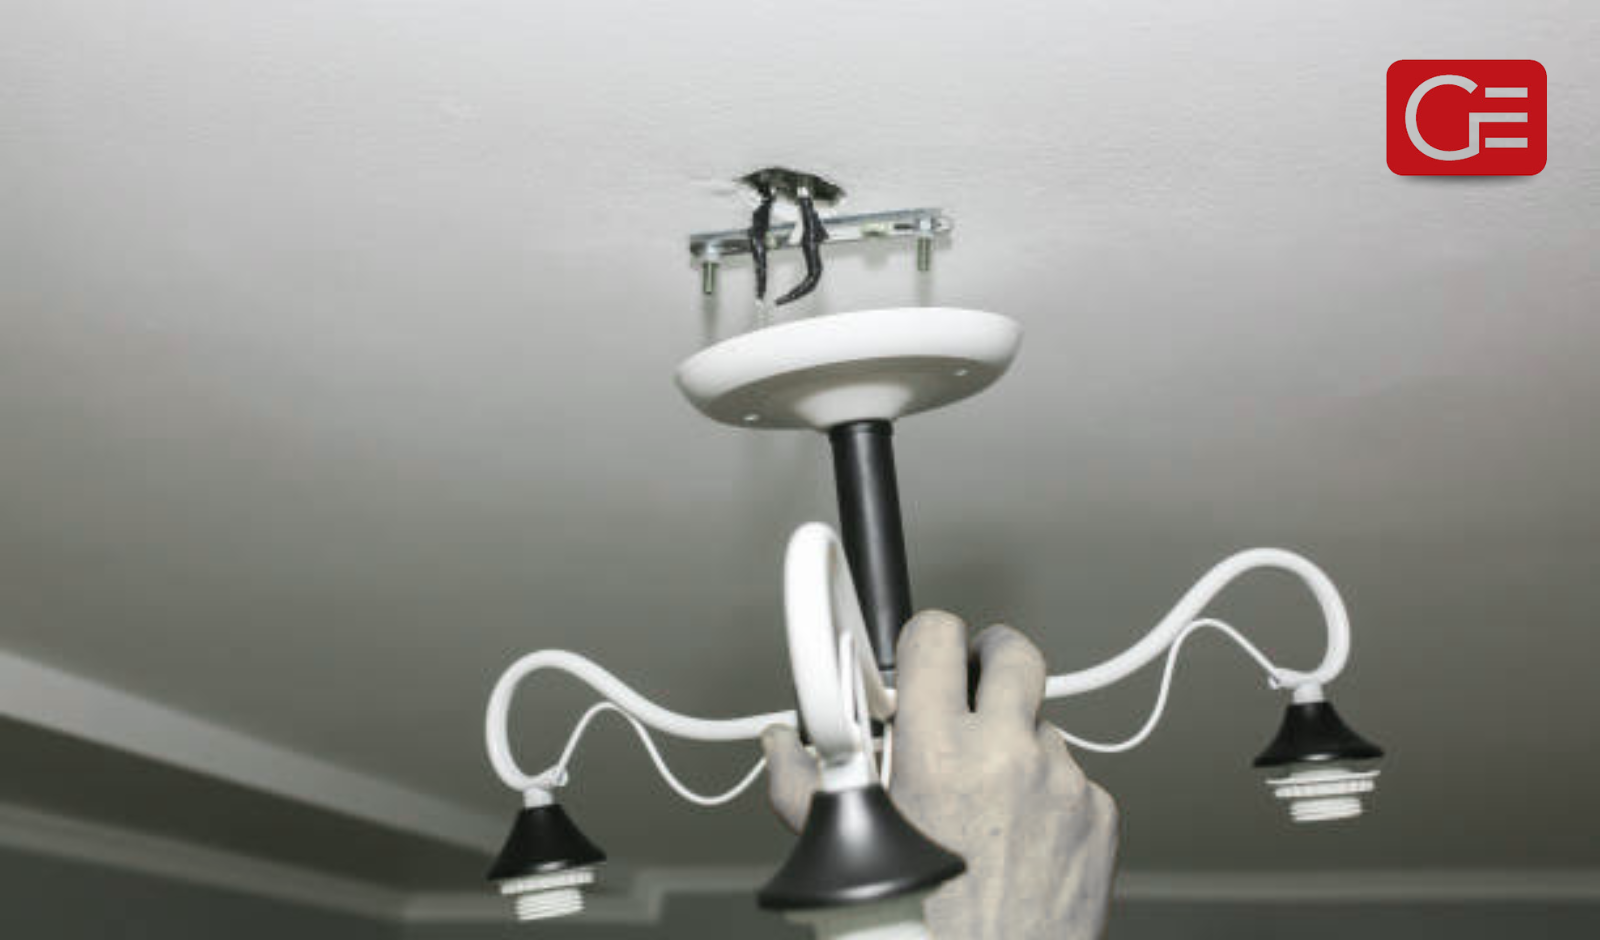
Mounting the New Fixture
To mount your new ceiling light, attach the included bracket securely to the junction box or to a ceiling support beam. Follow the instructions from the manufacturer and make sure the fixture is tightened properly so it will not become loose later.
If you are installing LED lighting, make sure the LED driver or transformer is placed in an area where it can stay cool. LEDs do not get as hot as old bulbs, but their electronic components need airflow.
Align your new light fixture with the mounting bracket and position the wires neatly so none of them get bent or pinched. Check that the fixture sits flat and level against the ceiling.
Wiring the Ceiling Light or LED Fixture
Connect the wires by following both the colour-coded wiring system and the manufacturer’s instructions. In most homes, this means:
- Connect the live wire (brown/red) from the ceiling to the live wire on the fixture
- Connect the neutral wire (blue/black) to the neutral wire on the fixture
- Connect the earth/ground wire (green/yellow) to the earth connection
Use wire nuts or approved electrical connectors to secure each pair of wires. All connections must be tight, safe, and fully insulated to prevent overheating, loose contacts, or electrical arcing.
Important Safety Note:
- If you are unsure about wiring or have not worked with electrical components before, do not attempt this step yourself.
- Incorrect electrical wiring can lead to electric shock, fire hazards, or long-term damage to your lighting system.
- For safety and compliance, it’s always best to contact a licensed electrician like Grammar Electrical to complete this stage.
LED ceiling lights are polarity-sensitive, meaning the correct wires must be connected to the correct terminals. Also check that the driver is suitable for the number of LED fittings you are installing and that your dimmer switch (if used) is LED-compatible.
Key Considerations for LED Ceiling Lighting
If you are installing LED lights in the ceiling, remember:
- LED systems still need ventilation
- They should not be placed against insulation
- For dimming, only use LED-rated dimmers
- When installing multiple LEDs, use the same colour temperature for all (for example: 3000K warm white for cosy rooms or 4000K cool white for bright work areas)
LED fixtures are a good choice because they last for many years, require very little maintenance, and use far less electricity than older bulbs.
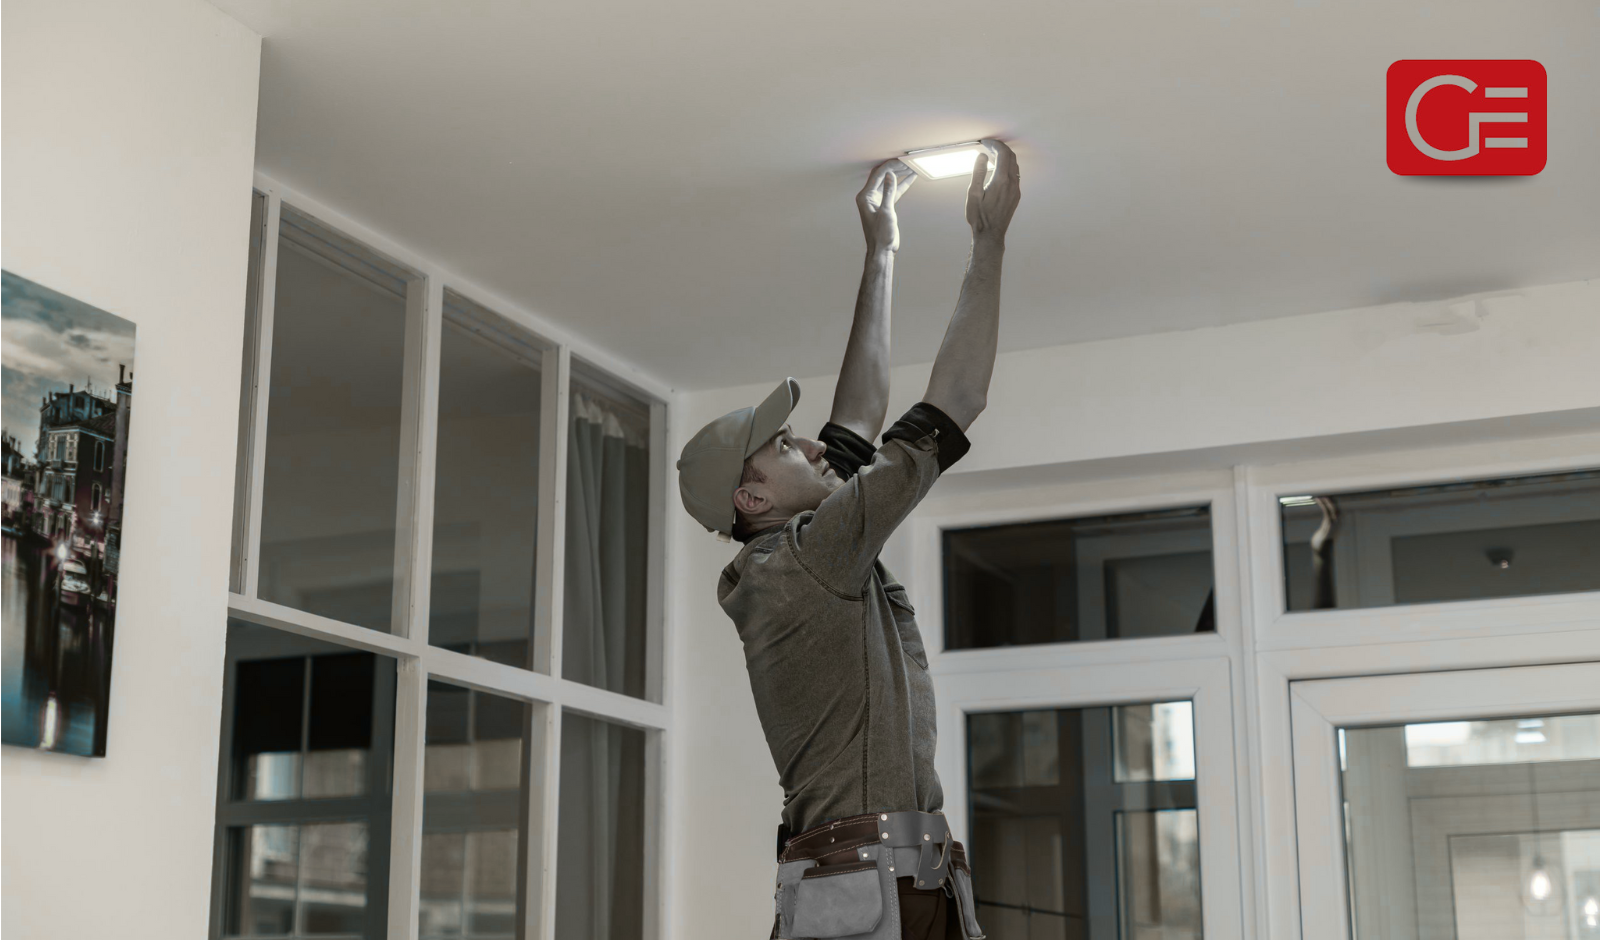
Final Testing & Adjustment
Once everything is wired and mounted, turn power back on at the breaker and test the switch. Watch for issues such as:
- Flickering
- Buzzing
- Delayed turn-on
- Dim or uneven lighting
These problems can mean the wiring or driver needs to be checked again.
Once the light is working properly, attach any covers, tighten screws, clean away dust, and make sure the fixture sits straight and secure. No wires should be visible.
Maintenance Tips
To keep your ceiling lighting in top condition and ensure long-lasting performance, follow these simple maintenance steps:
- Clean light covers or diffusers regularly to prevent dust from reducing brightness
- Check screws, brackets, and fittings to make sure everything stays secure over time
- Use only LED-approved dimmer switches to avoid flickering or damage
- Always switch off power before cleaning, adjusting, or handling any part of the light
For added safety and longevity, consider scheduling electrical maintenance services. Routine checks can help detect loose wiring, heat damage, or worn components early. And when you need quick assistance, having an electrician near you makes it easy to keep your lighting safe and reliable.
When to Call an Expert
Some homeowners can manage simple lighting upgrades, but professional installation is the safest choice if:
- Your wiring is old, damaged, or untested
- You’re installing smart lighting, LED panels, or multi-room systems
- Your ceiling is high, angled, or difficult to access
- You’re unsure about electrical safety requirements
- The fixture is heavy, oversized, or complex to mount

Your Trusted Lighting Experts in Auckland
Upgrading your ceiling lighting should feel simple, safe, and stress-free. That’s why Grammar Electrical offers professional lighting design, installation, and upgrades for both homes and businesses.
What you can expect:
- Registered electricians who follow NZ electrical safety standards
- Safe installation for LED, smart, exterior, and feature lighting
- Clear guidance on choosing the right lights for each room
- A workmanship guarantee of up to $20,000
- Fast, reliable service for residential and commercial properties
- 24-hour emergency electricians for urgent lighting or wiring faults
Whether you’re switching to LEDs or installing new ceiling fixtures, our team delivers safe, efficient, and high-quality results every time.
Contact Grammar Electrical today on 09 884 6611 or book online and save $15. Your lighting upgrade is in trusted hands.
Auckland’s Trusted Electricians
Fast, reliable electrical repairs, installations & upgrades - available 24/7.
Book Online & Save $15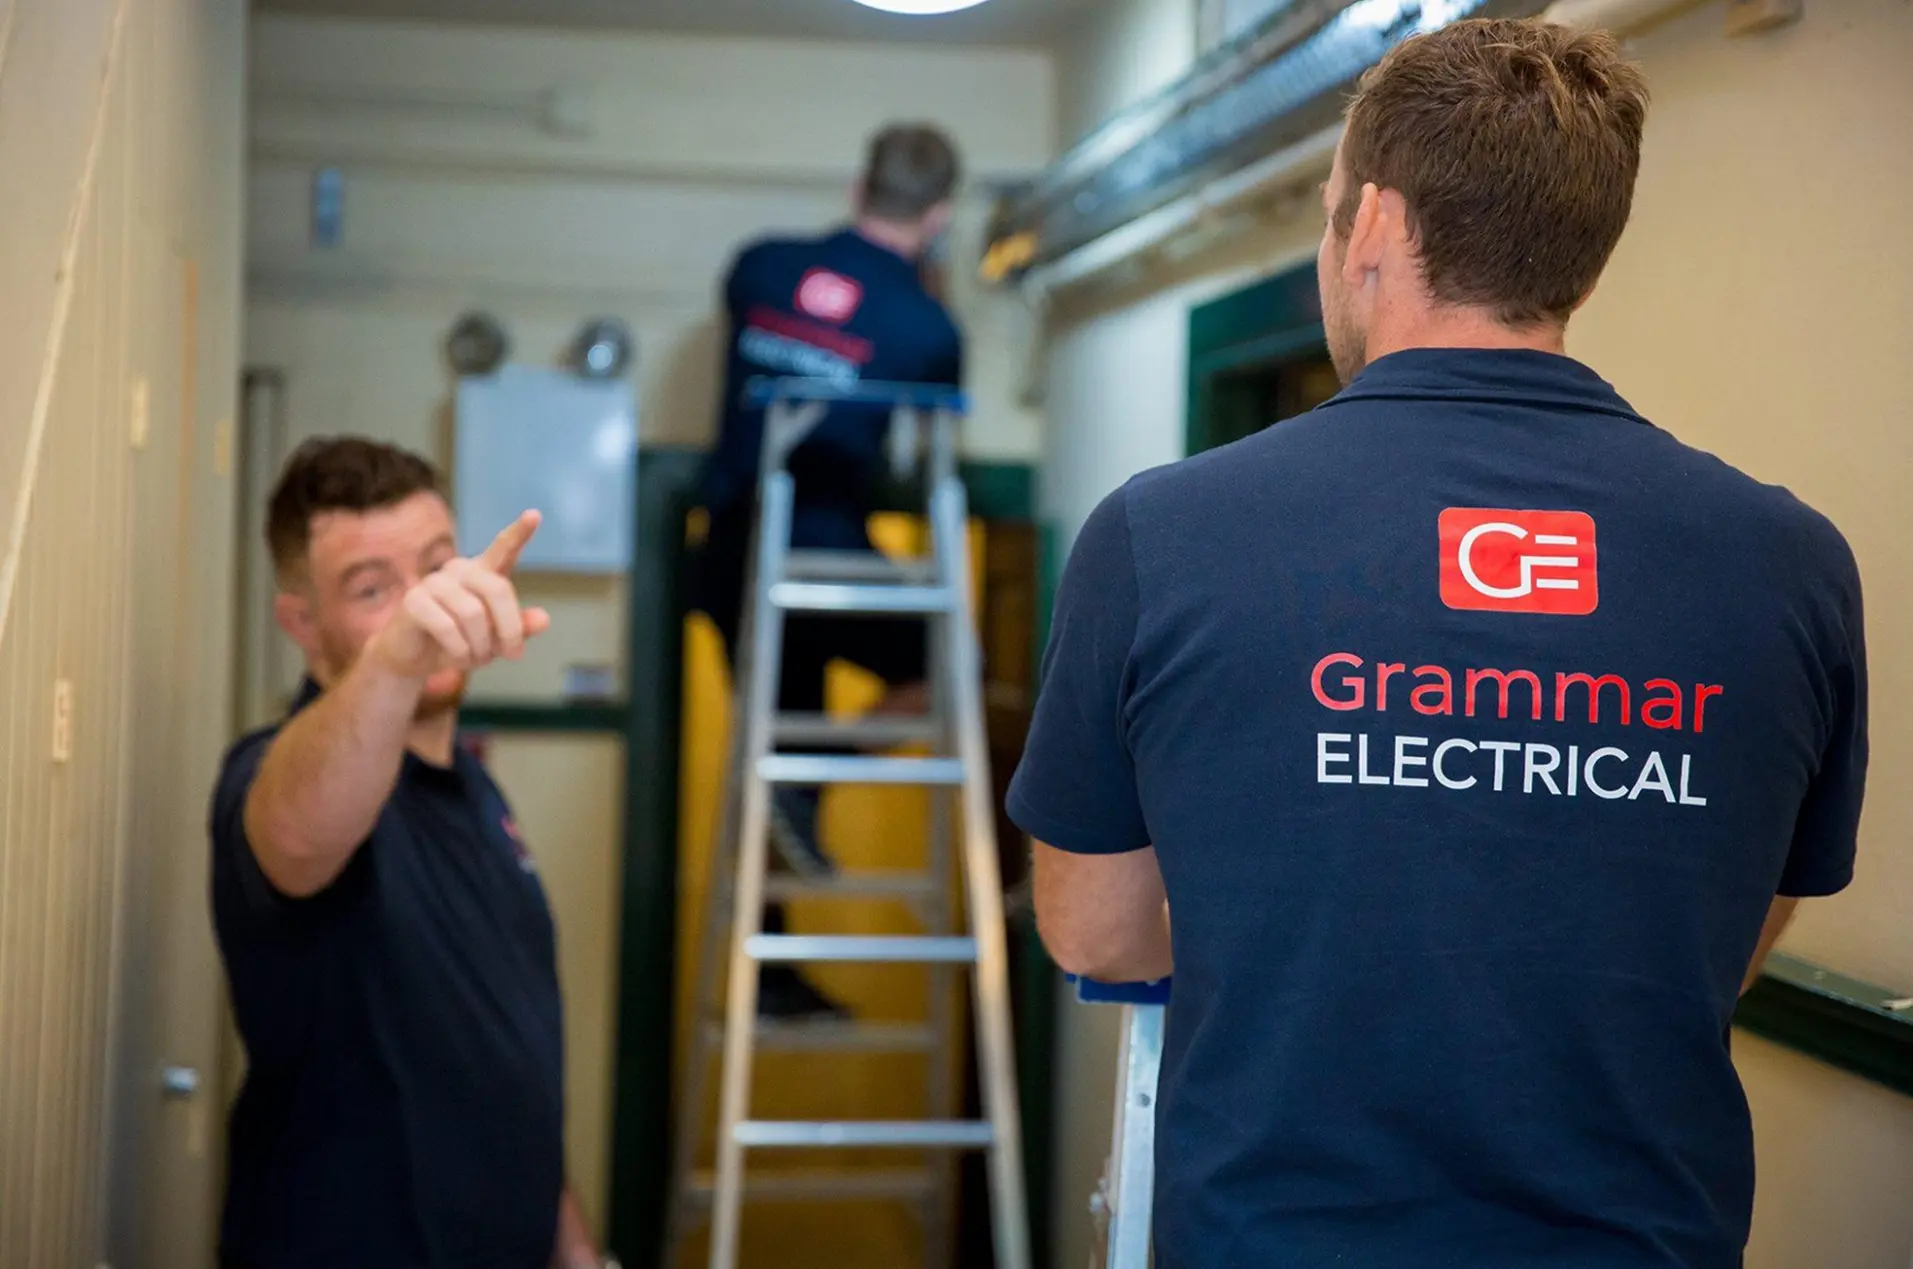

.webp)

Got a question?
Contact us for a FREE installation quote or book your job online today.
Same Day Service Guarantee - Terms & Conditions

The "Same Day Service Guarantee or it's Free" applies to:
a. Residential work and Commercial only.
b. Jobs specified as needing same day service when booking a job by phone or online.
c. Residential and Commercial work booked with Grammar Electrical:
i) Before 11:00AM
ii) For calls or online bookings received after 11:00AM, the customer will be offered a job. Booking for the next business day and normal callout fees ($170+ GST) will apply.
iii) Any other jobs booked outside business hours (9:00AM - 5:00PM Monday- Friday) will incur after hours charges.
iv) This offer is excluded for jobs booked on New Zealand public holidays.
d. If Grammar Electrical are unable to attend on the same day (within 24 hours) for a job booked by the customer, the standard callout fee of $170 + GST will be waived and is free, but all other normal charges, fees and expenses will apply to perform the Electrical Services and to provide any products/materials concerning those services.
e. The Standard Callout Fee will be deducted from your bill as long as you pay within your invoice's due date. The callout charge is applicable if your invoice is overdue.
f. If Grammar Electrical are willing and able to perform the Service or provide the Goods on the same day the job is booked, however the Customer for whatever reason does not give access to their property on the day, Grammar Electrical will be deemed to have complied with it's "Same Day or it's Free" guarantee and shall be entitled to charge the customer the standard call-out fee.
g. This offer is not a guarantee of work being completed. The completion of the job will depend on stock availability and also the amount of work required.