


%20(1).webp)


If your LED ceiling light is flickering, dim, or not turning on at all, it might be time for a replacement. Understanding the basics of how these fixtures work can help you handle simple issues safely. Many minor lighting problems can be managed by homeowners as long as the power is turned off and the right precautions are taken.
This guide will help you know what you can safely do yourself and when it’s best to call a licensed electrician for help.
Why Upgrade to LED Ceiling Lighting
LED lights remain one of the best options for modern homes. They:
- Use significantly less energy
- Last much longer than halogen or incandescent bulbs
- Produce less heat, making them safer
- Come in a wide range of brightness levels and colour temperatures
If your lighting is old or keeps malfunctioning, upgrading to a modern LED ceiling light can make your home brighter, more efficient, and more reliable. Older fittings may no longer meet current standards, so replacing them can also improve safety.
Before You Start: Important Safety Preparation
Whether you’re planning to replace a ceiling light bulb or install a new LED fixture, safety always comes first. Here are the must-follow steps:
- Turn off the power at the circuit breaker
Switching off only the wall switch is not enough. For full safety, turn off the circuit breaker that controls the lighting circuit to ensure no electricity is flowing.
- Use a stable ladder or step platform
You should be able to reach the light comfortably. Do not stretch, lean sideways, or try to balance unsafely while removing a fixture or bulb.
- Let the light cool down
Even though LED fittings stay cooler than older lights, some parts may still hold heat. Waiting a few minutes prevents accidental burns.
- Check bulb or fixture compatibility
For bulb replacement, match the LED bulb’s fitting, lumens, wattage, and colour temperature, and for full fixture replacement, ensure the new unit suits your ceiling space and wiring
- Prepare basic tools
For most replacements, you only need a screwdriver, insulated gloves & a stable ladder. More complex fittings may require additional tools, but most LED replacements are simple.
.webp)
How to Replace an LED Ceiling Light Fixture (Full Replacement)
If the issue isn’t the bulb but the entire fixture, you can replace the LED ceiling light, but only if the wiring is in safe condition and you feel confident with basic electrical handling. Ceiling wiring can be dangerous, so follow these steps carefully and stop immediately if anything looks unsafe.
1. Turn off the circuit breaker
This is the most important step. Turning off the breaker prevents electric shock, even if someone accidentally flips a wall switch while you’re working.
2. Remove the old fixture
Use a stable ladder and carefully:
- Remove the cover or trim
- Unscrew the mounting screws
- Lower the fixture slowly to reveal the wires
Older lights may be stuck from paint or dust. Loosen gently, never pull hard, because hidden wiring can snap or short.
3. Inspect the wiring carefully
This is where DIY becomes risky. Before installing anything new, check for:
- Burn marks
- Exposed copper
- Melted wire insulation
- Loose or broken terminals
- Corrosion or moisture damage
If you see any of these signs, stop immediately. Damaged wiring can cause electric shock, electrical fires, or long-term faults. Only a registered electrician should continue from here.
4. Install the new LED ceiling light
If the wiring is safe and intact, connect:
- Live to live (brown or red)
- Neutral to neutral (blue or black)
- Earth to earth (green/yellow)
Secure the mounting bracket tightly. Make sure no wires are pinched or strained when you attach the new fixture.
If you’re unsure about wire colours, connections, or the fixture’s instructions, do NOT guess, incorrect wiring is one of the biggest causes of household electrical fires.
5. Restore power and test
Turn the breaker back on and check:
- The light turns on
- No flickering or buzzing
- The brightness is steady
- The fixture is firmly attached
If anything feels off, switch the breaker off immediately and recheck. For any unusual noise, heat, or smell, stop and call a licensed electrician.
How to Replace an LED Ceiling Light Bulb
If your LED ceiling light uses replaceable bulbs, the process is generally straightforward, but it still requires care, especially with spring-loaded downlights, which can be tight and tricky to handle.
1. Turn off the power
Even for something as simple as changing a bulb, turn off the circuit breaker if possible. This keeps the fitting completely safe while you work.
2. Remove the old bulb
Depending on the fixture, the bulb may:
- Twist out
- Pull straight out
- Unlock with a partial turn
If you’re working with spring-loaded downlights, gently pull the fitting down just enough to access the bulb while supporting the metal clips. These clips can snap back with force, so keep a firm grip to avoid injury or damage.
3. Install the new LED bulb
Insert the correct LED replacement bulb and ensure it fits snugly into place. Avoid forcing or twisting too hard, this can damage the fitting.
4. Restore power and test
Turn the power back on and check that:
- The bulb lights up
- There’s no flickering
- The brightness is stable
If anything looks or sounds unusual, switch the breaker off again and check the bulb and fitting before continuing.
When to Call a Licensed Electrician
While many homeowners can confidently replace a bulb or simple fixture, certain situations require a qualified professional. Contact an electrician if:
- Wiring looks damaged or burnt
- You smell burning or see melted parts
- The light is installed in a fire-rated ceiling
- The fitting is too tight or difficult to remove
- The light is part of a dimmable or smart-home system
- The circuit breaker keeps tripping
- Multiple lights flicker across the home
- You need help with safe or more complex lighting installation
A licensed electrician ensures the installation is safe, compliant, and suitable for your home’s electrical system.
Final Thoughts
Learning how to replace an LED ceiling light and understanding how to change an LED light bulb in the ceiling can make simple lighting fixes feel much more manageable. When everything is in good condition, these tasks are usually straightforward and help keep your home bright and comfortable. But the moment you notice damaged wiring, burning smells, unstable fittings, or anything that feels unsafe, it’s best to stop and call a professional.
Grammar Electrical provides safe lighting repairs, LED upgrades, replacements, and full installation services across Auckland. And if something urgent happens, you can rely on an emergency electrician to restore your lighting safely.
Call us today or book online to save $15. Your lighting upgrade is in safe, qualified hands.
Auckland’s Trusted Electricians
Fast, reliable electrical repairs, installations & upgrades - available 24/7.
Book Online & Save $15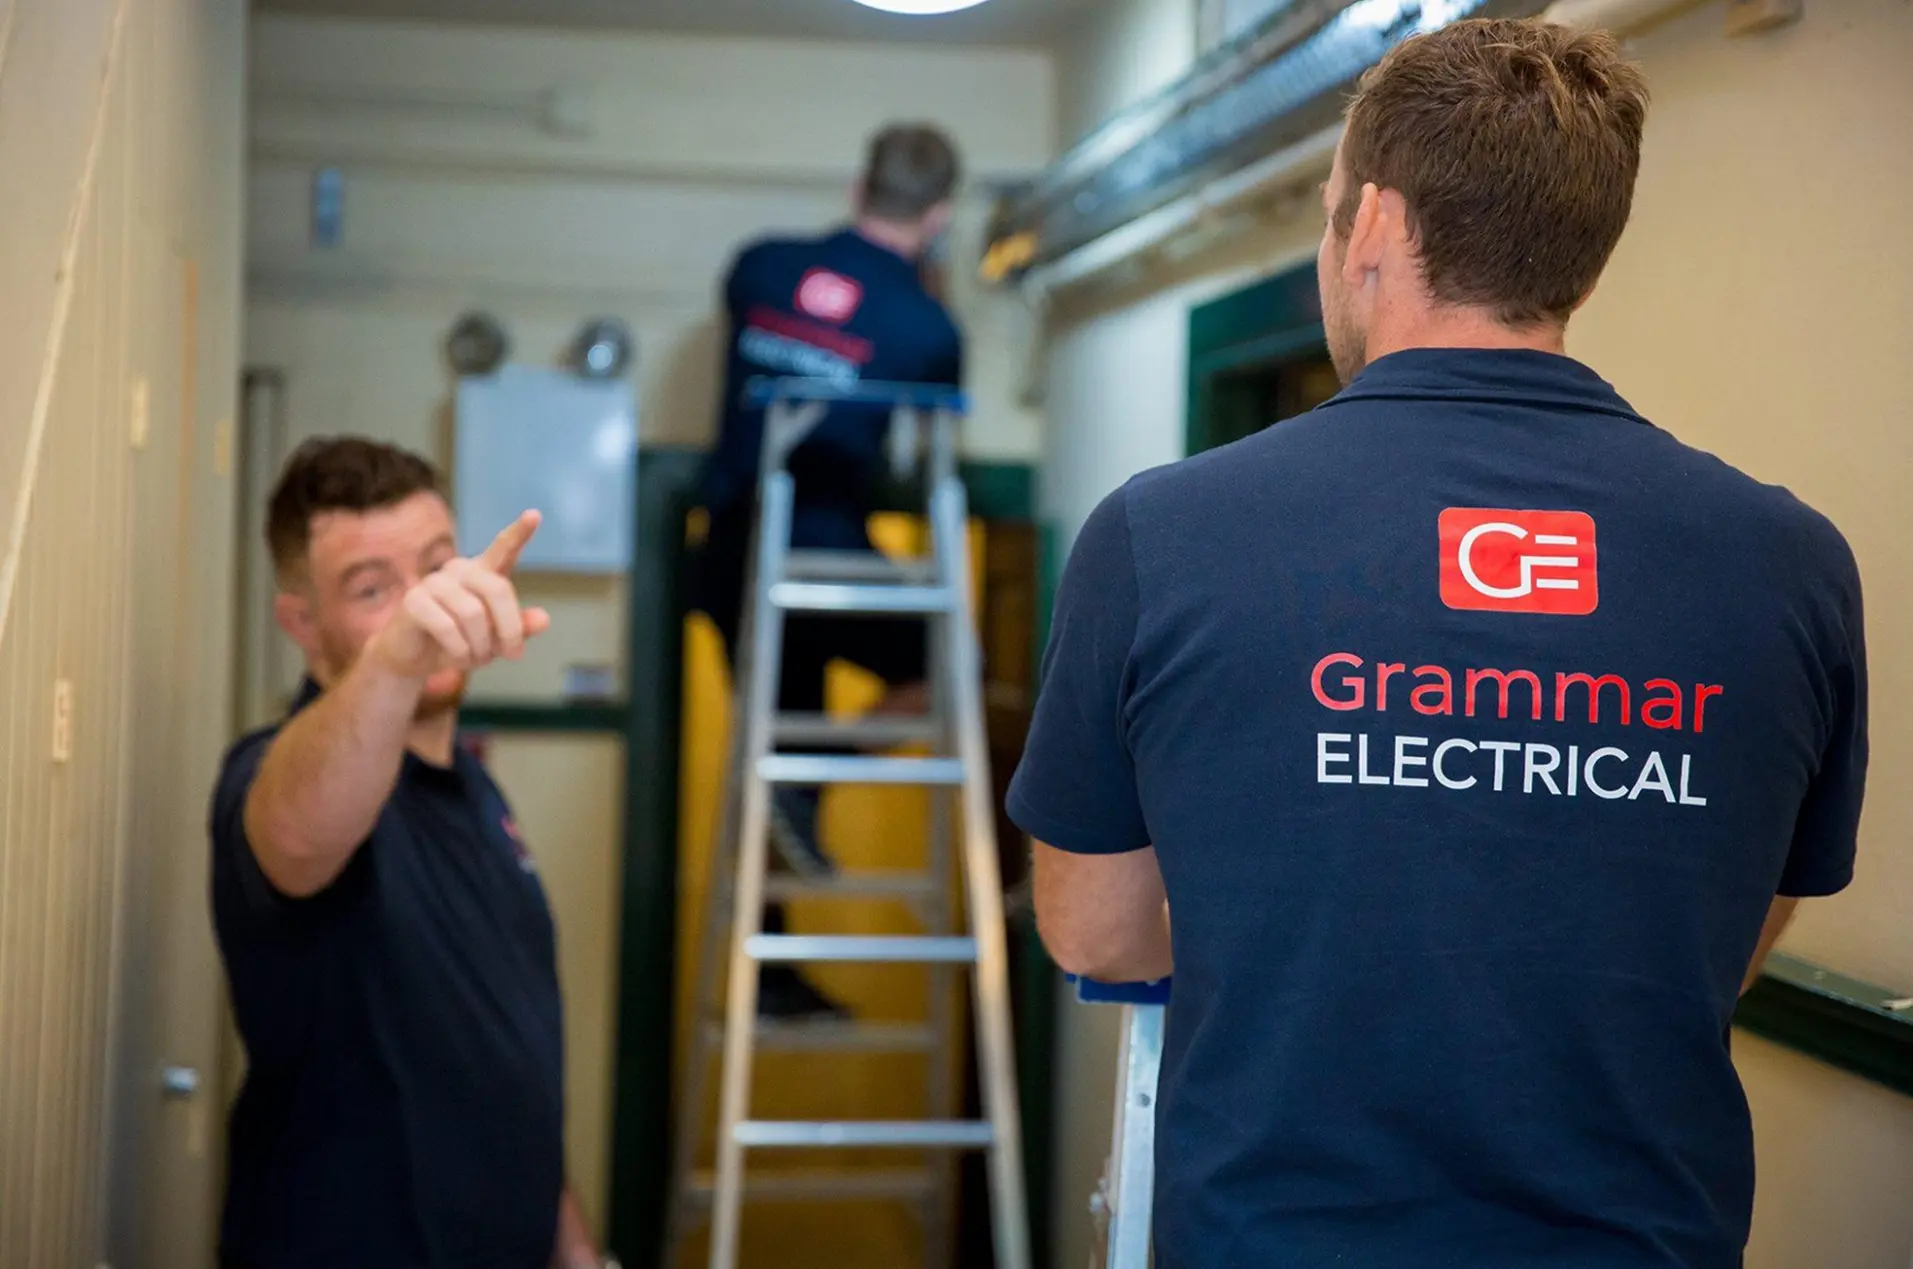

.webp)

Got a question?
Contact us for a FREE installation quote or book your job online today.
Same Day Service Guarantee - Terms & Conditions

The "Same Day Service Guarantee or it's Free" applies to:
a. Residential work and Commercial only.
b. Jobs specified as needing same day service when booking a job by phone or online.
c. Residential and Commercial work booked with Grammar Electrical:
i) Before 11:00AM
ii) For calls or online bookings received after 11:00AM, the customer will be offered a job. Booking for the next business day and normal callout fees ($170+ GST) will apply.
iii) Any other jobs booked outside business hours (9:00AM - 5:00PM Monday- Friday) will incur after hours charges.
iv) This offer is excluded for jobs booked on New Zealand public holidays.
d. If Grammar Electrical are unable to attend on the same day (within 24 hours) for a job booked by the customer, the standard callout fee of $170 + GST will be waived and is free, but all other normal charges, fees and expenses will apply to perform the Electrical Services and to provide any products/materials concerning those services.
e. The Standard Callout Fee will be deducted from your bill as long as you pay within your invoice's due date. The callout charge is applicable if your invoice is overdue.
f. If Grammar Electrical are willing and able to perform the Service or provide the Goods on the same day the job is booked, however the Customer for whatever reason does not give access to their property on the day, Grammar Electrical will be deemed to have complied with it's "Same Day or it's Free" guarantee and shall be entitled to charge the customer the standard call-out fee.
g. This offer is not a guarantee of work being completed. The completion of the job will depend on stock availability and also the amount of work required.